Pre-Trip Checklist Of Your RV’s Exterior
When conducting a pre-trip visual inspection of the exterior of your Class A motorhome, it’s essential to thoroughly examine various components outside of the RV to ensure they are in proper working order.
Here’s an exterior checklist of items to include for your RV’s upcoming trip:
Inspect the RV’s Tires:
Check the tire’s lug nuts and inspect for any signs of wear or damage. Ensure the tread depth is within acceptable limits, and look for any bulges or cracks on the sidewalls to prevent tire blowouts and replace tires as necessary. Check the air pressure to make sure the tires have proper inflation. Store wheel chocks.
Ensure the RV’s Exterior Lights are in Working Order:
Test all exterior lights, including headlights, taillights, brake lights, marker lights, running lights, turn signals, and hazard lights. Replace any bulbs that are not functioning correctly.
The RV’s Exterior Mirrors are Properly Adjusted:
Adjust and ensure that all mirrors are clean and properly positioned, providing a clear view of the surroundings.
Windows and Windshield of the RV are Free of Damage:
Inspect the windows and windshield for any cracks, chips, or other damage. Repair or replace as necessary.
Make Sure the RV’s Roof is Free of Damage:
Check the roof for any signs of leaks, cracks, or damage. Ensure that all seals and caulking are intact and in good condition. This will lengthen the RV roof lifespan.
Exterior Doors of the RV Wok Properly:
Test all exterior doors, including the main entry door, storage compartments, and access panels. Ensure they open and close smoothly and latch securely.
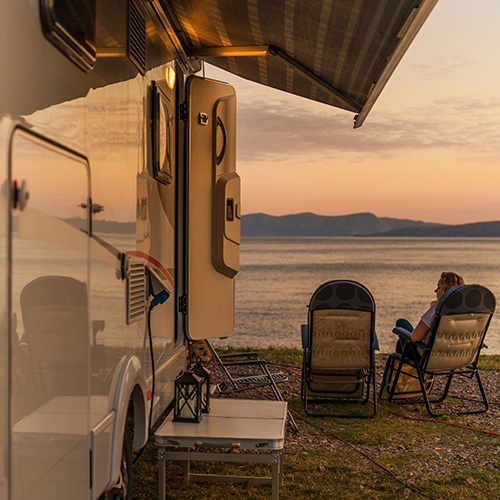
RV’s Awning is Secure and Not Damaged:
If your Class A motorhome is equipped with an awning, inspect it for any tears or damage. Test its functionality and ensure it extends and retracts properly.
Inspect the RV’s Propane System:
Inspect the propane tank, lines, and connections for leaks or damage. Ensure that the tank is securely mounted and the valves are closed.
Check the Exterior Plumbing of the RV:
Check all exterior plumbing components, such as the freshwater inlet, waste water outlets, and fresh water holding tank. Look for any leaks or damage signs and ensure secure mounting of your sewer hose.
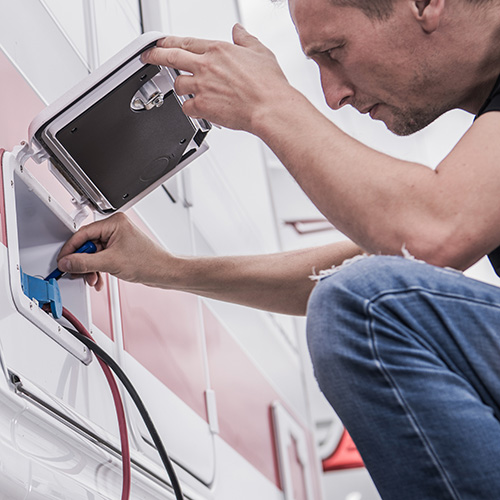
Exterior RV Electrical Connections:
Inspect all exterior electrical connections, including the power cord, cable TV, and satellite dish connections. Ensure they are secure and free from damage.
Secure the RV’s Exterior Vents and Vent Covers:
Check all exterior roof vents and vent covers, including those for the refrigerator, furnace, and water heater. Clean any debris and ensure they are functioning correctly.
Ensure the RV’s Exterior Body is Free of Damage:
Inspect the exterior body of your motorhome for any damage, scratches, or signs of wear. Look for any loose or missing panels, trim, or molding.
Remember, this pre-trip visual inspection should be conducted before every journey to ensure the safety and reliability of your Class A motorhome. If you discover any issues during the inspection, address them promptly to avoid potential problems on the road.
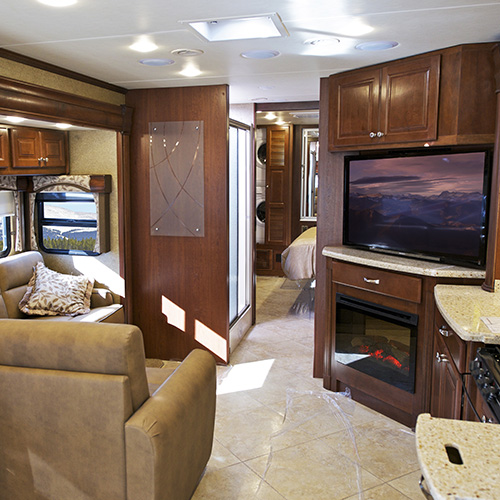
Pre-Trip Checklist Of Your RV’s Interior
When conducting a pre-trip visual inspection of the inside of the RV, it’s vital to ensure that everything is in proper working order and ready for your journey.
Here are some key areas to include in your RV’s interior inspection:
Test All Appliances in RV:
Test all appliances, including the refrigerator, stove/oven, microwave, and other built-in appliances. Check that they are functioning correctly and inspect for any signs of damage or wear.
Check Your Safety Devices:
Verify that all safety devices are in good working condition. This includes testing the smoke detector, carbon monoxide detector, first aid kit, and fire extinguisher. Replace batteries or expired units as necessary.
Inspect the Electrical System and Wiring Inside the RV:
Inspect the electrical system and wiring for any loose connections, frayed wires, or signs of damage. Test all outlets, switches, and lighting fixtures to ensure they work correctly.
Check the RV’s Indoor Plumbing System:
Inspect the plumbing system for any leaks, such as under sinks, around toilets, or near water supply connections. Run faucets, showers, and toilets to ensure proper functionality. Make sure your fresh water tank is full.
Ensure Items In Cabinetry and Storage are Secure:
Open and close all cabinets and storage compartments to ensure they are secure and operating correctly. Check for any loose or damaged hinges, latches, or handles. Make sure to secure any loose items.
Test the RV’s HVAC System:
Test the heating, air conditioner, and ventilation systems to ensure they work correctly. Check filters and clean or replace them if needed. Make sure your furnace’s exhaust and intake openings are free of debris.
Inspect the RV’s Interior Lighting:
Test all interior lights, including ceiling lights, reading lights, and bathroom lights. Replace any burnt-out bulbs.
Ensure Your Audio/Visual Equipment Works and is Secure:
If your motorhome has audio/visual equipment, such as a TV or stereo system, test them for proper functionality. Check connections and ensure they are secure.
By conducting a thorough pre-trip visual inspection of the interior, you can identify potential issues affecting your comfort or safety during your journey. Address any concerns or repairs before you hit the road to ensure a hassle-free and enjoyable trip.
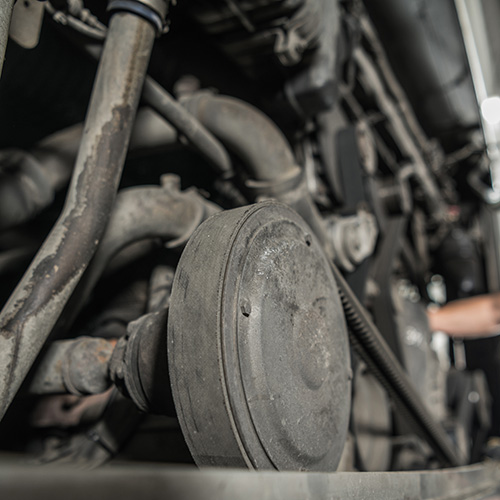
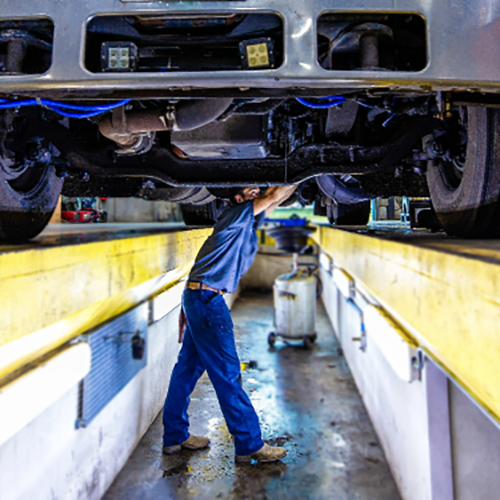
Pre-Trip Checklist Of Your RV’s Mechanical Components
When conducting a pre-trip mechanical inspection of your Class A motorhome, ensuring that all mechanical components are in optimal working condition is essential. Here’s a checklist of items to include.
Engine and Fluid Levels:
Check the engine oil level and condition. Inspect the transmission fluid, coolant, brake fluid, power steering fluid, and windshield washer fluid levels. Check the engine compartment for any fluid leaks.
Belts and Hoses:
Inspect the drive belts for wear, cracks, or fraying. Check radiator hoses, fuel lines, and other hoses for signs of leaks, bulges, or deterioration. Replace any damaged or worn-out belts and hoses.
Battery:
Inspect the battery terminals for corrosion and ensure they are tightened securely. Test the battery voltage and clean any buildup on the terminals. Replace the battery if it is old or not holding a charge.
Brakes:
Check the brake pads, rotors, and calipers for wear. Ensure proper brake fluid levels and test the parking brake for functionality. If you notice any issues with the air brakes, have them inspected by a professional.
Suspension and Steering:
Inspect the suspension components, including shocks and springs, for signs of damage or wear. Check for any loose or worn-out steering components. Test the steering for smooth operation.
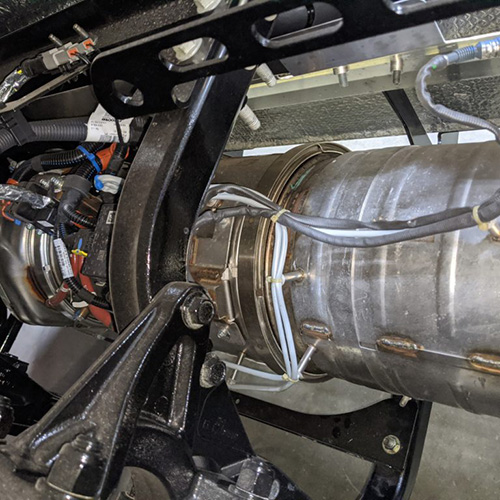
Exhaust System:
Inspect the exhaust system for leaks, rust, or damage. Look for loose or broken hangers or clamps. Pay attention to any unusual noises or odors coming from the exhaust.
Wipers and Windshield:
Test the windshield wipers to ensure they function correctly. Check the wiper blades for wear and replace them if necessary. Inspect the windshield for any chips or cracks that may impair visibility.
By conducting a thorough pre-trip mechanical inspection, you can identify any potential issues that could affect the performance and safety of your recreational vehicle. Address any concerns or repairs before embarking on your journey to ensure a smooth and worry-free experience.
Tips For Conducting A Thorough Pre-Trip Inspection Of Your RV
Conducting a thorough inspection before hitting the open road in your class A motorhome is essential. This will ensure a safe and enjoyable journey for you and your fellow travelers.
Taking your time and following a comprehensive checklist is vital in uncovering potential issues before they become significant problems.
Pay close attention to the details, such as checking the brakes, tires, and all electrical components.
Consult the RV’s owner’s manual to ensure you take all the important steps.
Never hesitate to seek professional help if you’re unsure about anything or suspect a problem.
With these tips, you’ll be well-prepared to hit the road with confidence and peace of mind.
Conclusion
Pre-trip RV safety inspections are simple checks that don’t take much time to keep yourself and your family safe while preventing unnecessary repairs or breakdowns on your extended road trip.
Taking the time to inspect your RV’s exterior, interior, and mechanical components is always well-spent, and you can rest assured that you have all the important details.
Look for any visible wear, tear, or signs of potential damage to the RV. Investigate each system carefully and run any mechanical tests as needed – check fluid levels, inspect belts and hoses, examine tire pressure, and ensure all lights function properly.
If you ever find yourself unsure of what to look for or how to check for it during your inspection, don’t be afraid to ask for help from someone with more knowledge. Think of friends or family who have been RVing for years or even contact a local repair shop like Wayne Truck & Trailer.
Your final goal should be that peace of mind that comes with knowing that everything on your RV is just as safe and reliable as it should be before you set off on an unforgettable adventure.
Don’t hesitate to contact Wayne Truck & Trailer today and have a certified technician help get your RV in top mechanical condition.